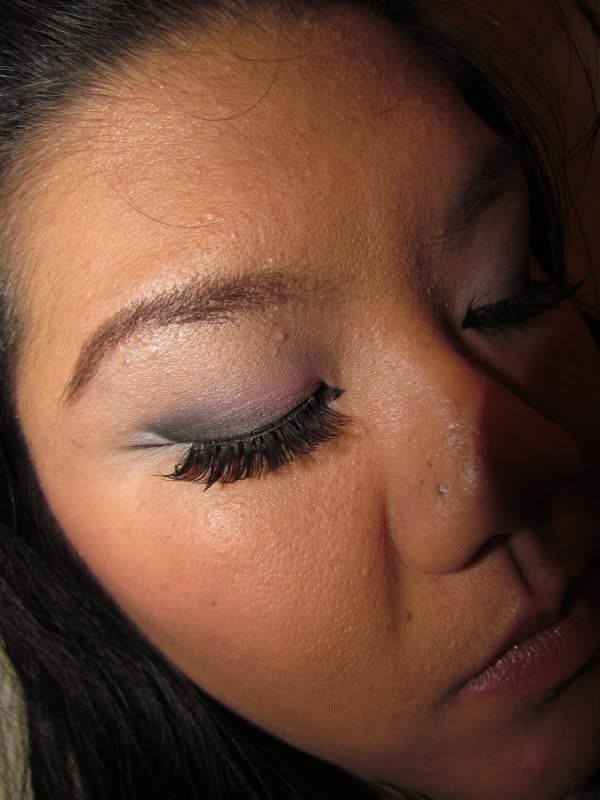
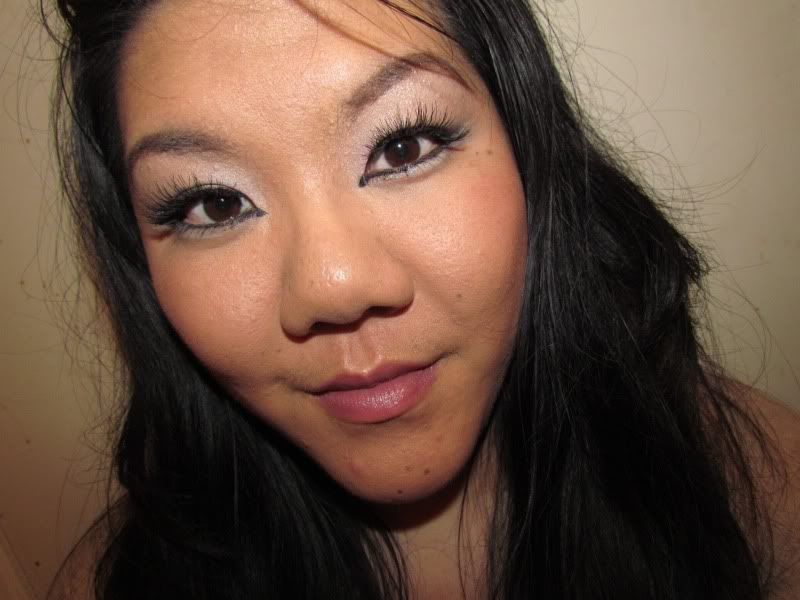
I blogged about this kit launching yesterday, and I wanted to share a look I did in honor of this look.

Here's my attempt at recreating the promo picture...pose and everything!
Eyes
- Too Faced Shadow Insurance (Original)
- Urban Decay Eyeshadow Primer Potion (Eden)
- Crown 88 Matte Palette (silver, pink, black, beige)--you can really just use any matte/satin colors...kind of generic colors
- theBalm Eyeshadow (Sassy)
- Buxom Lashliner (Leatherette)
- Urban Decay 24/7 Waterproof Liquid Eyeliner (Perversion)
- Rimmel London Soft Kohl Kajal Eye Liner Pencil (Pure White)
- L'Oreal Double Extend Eye Liner Pencil (Black Crystal...only the highlight side used)
- Revlon Photo Ready 3D Mascara (Washable, Blackest Black)
- Blinc Mascara (Black)
- Ardell Whispies
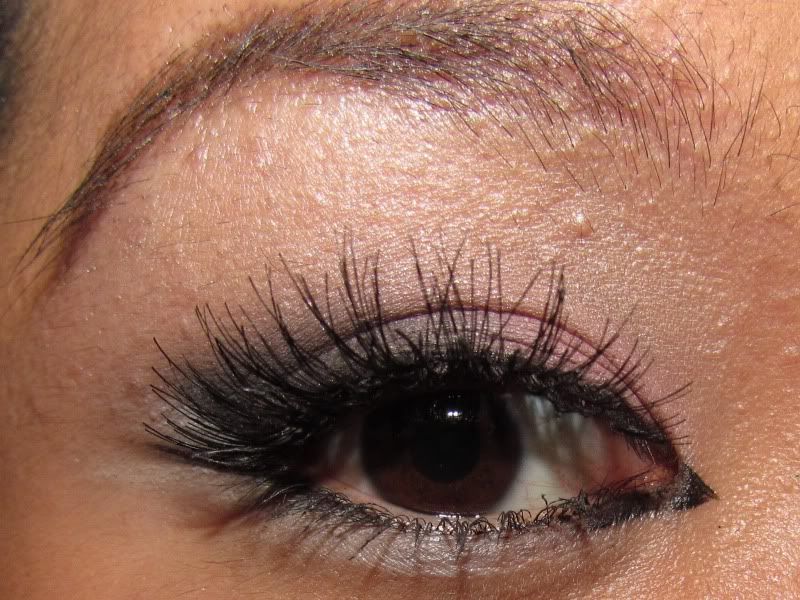
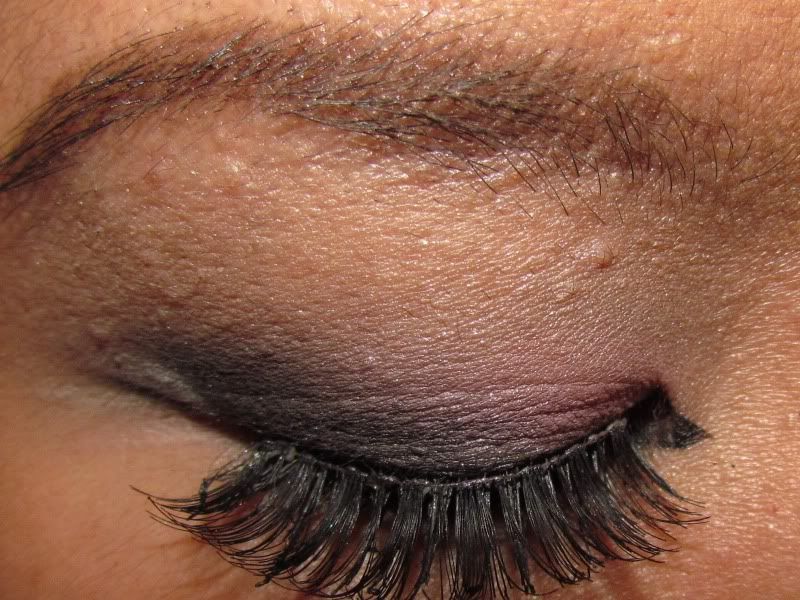
I used the Too Faced Shadow Insurance all over the lid for crease protection. Then the UD primer just from lashline to crease to even out coloring. Next, pack on the pink on the inner thrid of the lid (from inner corner till before your iris, the colored part of your eye, starts), take a light silver and shade the rest of the lid. Blend out any harsh edges. Add your highlight color and use Sassy to make the brow area more white. Next with the gel liner, draw an exaggerated line, angled upwards. Then blend upwards with your black shadow. Then with the liquid liner draw out the shape int he inner corner (as you can see, with a hooded eye crease, it can get tricky), then under the eye (be careful not to hit the lashes), and finish with a second wing under. Fill the space between your "wings" with the white pencil, making them precise, and blend out the outside so it doesn't look like a triangle. Take the cream color eyeliner and line under the black liquid to emphasize the liner. Curl lashes, add mascara and false lashes.
Face
- Neutrogena Healthy Skin Foundation (70)
- MAC Mineralized Skinfinish Natural (Medium Plus)
- Cover Girl Cheekers Bronzer (Golden Tan)
- Tarte Amazonian Clay Blush (Blushing Bride)
Foundation: all over, set with pressed powder. Used bronzer as a contour, and blush on the apples.
Lips
- MAC Kissable Lip Color (Flaunting It)
Apply...DONE!
This post contains affiliate or invite links that I am able to earn commission from. I would not support any company that I didn't like. What I earn from affiliate programs are going to be used to improve this blog, and bring more things for my followers.


No comments:
Post a Comment